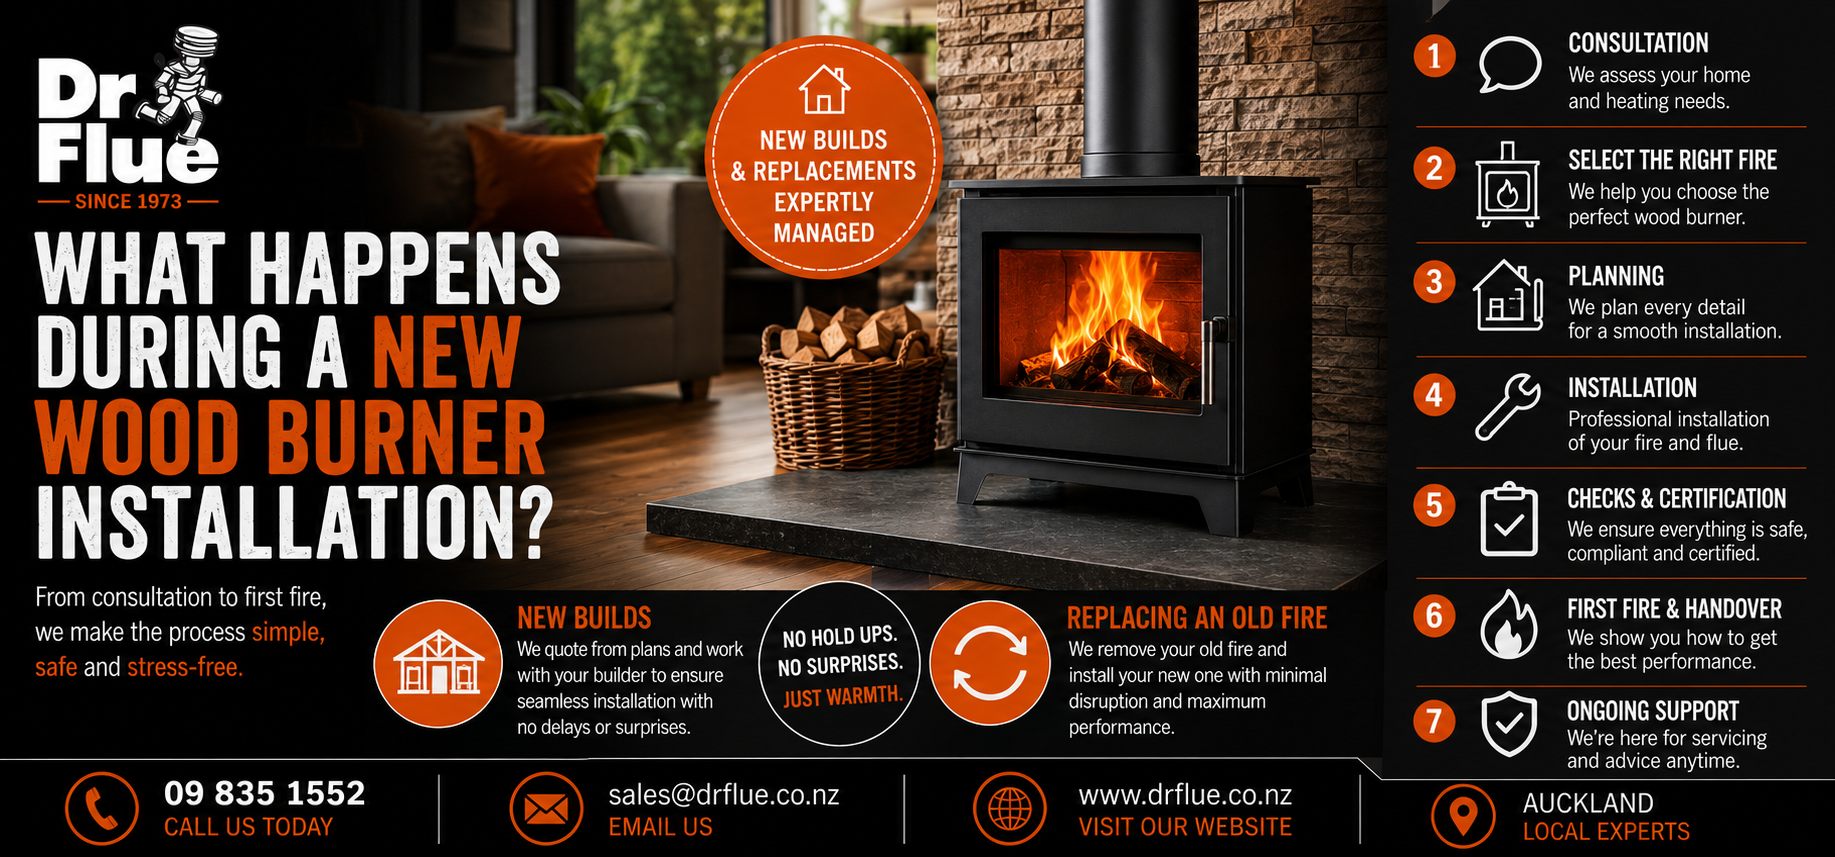
What Happens During a New Wood Burner Installation?
A new wood burner can transform the comfort of your home, providing reliable warmth, reduced moisture and efficient heating for years to come.
However, many homeowners are unsure what is actually involved in the installation process.
Whether you're building a new home or replacing an existing fireplace, proper planning is essential to ensure the appliance performs safely and efficiently.
At Dr Flue, we guide customers through every stage of the process, from the initial consultation through to final installation and ongoing support.
Here's what you can expect.
Step 1: Consultation and Heating Assessment
Every installation starts with understanding your home and your heating requirements.
During the consultation, we discuss:
Home size
Room layout
Insulation levels
Existing heating systems
Lifestyle requirements
Areas you want to heat
Appliance preferences
This allows us to recommend heating solutions that suit your home rather than simply choosing the largest appliance available.
Related Reading: Choosing the Right Size Wood Burner for Your Home
Step 2: Selecting the Right Wood Burner
Not every wood burner is suitable for every home.
Choosing the right appliance involves considering:
Heat output requirements
Burn times
Appliance size
Style preferences
Emission requirements
Budget
Modern Low Emission Burners (LEBs) and Ultra Low Emission Burners (ULEBs) both provide excellent performance when correctly matched to the home.
Related Reading: Low Emission Burners vs Ultra Low Emission Burners: What's the Real Difference?
Step 3: New Build Homes
Building a new home provides the perfect opportunity to incorporate a wood burner into the design from the beginning.
At Dr Flue, we can often provide quotations directly from architectural plans before construction begins.
Working from plans allows us to:
Assess heating requirements
Recommend suitable appliances
Determine flue locations
Confirm hearth requirements
Review clearances
Coordinate installation timing
We work directly with builders, project managers and other trades to ensure the installation process runs smoothly and avoids unnecessary delays.
Early planning helps prevent:
Costly variations
Design conflicts
Installation hold-ups
Construction delays
By becoming involved early in the project, we can help ensure the fireplace installation integrates seamlessly into the build process.
Step 4: Replacing an Existing Wood Burner
Replacing an older wood burner is one of the most common projects we undertake.
Before recommending a replacement appliance, we assess:
Existing flue centre position
Hearth size and condition
Roof access
Roof flashing details
Ceiling and flue clearances
Current appliance performance
Heating requirements
We'll also discuss how the existing fire has performed over the years.
Questions often include:
Does the current fire produce enough heat?
Are some areas of the home still cold?
Do you want longer burn times?
Are you looking for greater efficiency?
Would you like a larger viewing window?
Has your heating requirement changed?
This helps us recommend the most suitable replacement for your home.
Related Reading: Replacing an Old Wood Burner: When Is It Time to Upgrade?
Step 5: Existing Fire Removal
For straightforward replacement projects, the existing wood burner is typically removed on the same day the new appliance is installed.
This minimises disruption and ensures your home is without heating for the shortest possible time.
If renovation work is required before installation, the existing appliance may need to be removed earlier.
Examples include:
Hearth modifications
Fireplace alterations
Wall renovations
Surround upgrades
Structural work
Where necessary, the existing flue can be safely capped until the new installation is ready to proceed.
This allows builders and other trades to complete their work while keeping the project moving efficiently.
Step 6: Flue and Appliance Installation
Once preparation work is complete, the new appliance and flue system are installed.
This includes:
Appliance positioning
Floor protector installation (where required)
Flue assembly
Ceiling penetration components
Roof flashing
Weatherproofing
Chimney cowl installation
A properly designed flue system is critical for:
Safe operation
Efficient burning
Reliable draft
Long-term performance
Related Reading: New Flue or Time for a New Wood Burner? How to Know Which Option Is Right for You
Step 7: Safety and Compliance Checks
Once installation is complete, the entire system is inspected.
Checks typically include:
Appliance clearances
Flue alignment
Hearth compliance
Door operation
Air controls
Overall installation quality
These checks help ensure the appliance operates safely and as intended.
Step 8: Council Sign-Off and Certification
Where required, documentation and inspections are completed to satisfy local compliance requirements.
Homeowners should always retain installation records for:
Insurance purposes
Property records
Future maintenance
Future property sales
Having the correct paperwork provides confidence that the installation has been completed professionally and to current standards.
Step 9: First Fire and Customer Handover
Before leaving site, we walk homeowners through the operation of their new appliance.
This includes:
Lighting procedures
Air control operation
Fuel recommendations
Maintenance requirements
Cleaning procedures
Understanding how to operate a wood burner correctly helps maximise efficiency, reduce emissions and improve long-term performance.
Related Reading: Best Firewood for Auckland Wood Burners
Step 10: Ongoing Maintenance
A wood burner is a long-term investment and regular maintenance plays an important role in keeping it operating safely and efficiently.
Recommended maintenance includes:
Annual chimney sweeping
Flue inspections
Door seal checks
Baffle plate inspections
Air tube inspections
Routine servicing can help identify wear before it becomes a larger issue.
Related Reading: What Happens During a Professional Chimney Sweep?
The Bottom Line
Whether you're building a new home or replacing an existing fireplace, a professionally planned and installed wood burner can provide decades of reliable heating.
The key is choosing the right appliance, designing the correct flue system and ensuring everything is installed to a high standard.
With proper planning and expert advice, the installation process is often much simpler than homeowners expect.
Related Reading
Choosing the Right Size Wood Burner for Your Home
Replacing an Old Wood Burner: When Is It Time to Upgrade?
New Flue or Time for a New Wood Burner?
Low Emission Burners vs Ultra Low Emission Burners: What's the Real Difference?
Talk To Dr Flue
Whether you're building a new home or replacing an ageing fireplace, the team at Dr Flue can help you select the right wood burner and manage the entire installation process.
Since 1973, we've been helping Auckland homeowners create warmer, healthier and more comfortable homes.
📞 09 835 1552
Book a consultation with Dr Flue and start planning your new wood burner installation today.